Friday, August 20, 2021

Green Up, Brown Down - 10 Tips on Keeping your Brugs from being Damaged in the Wind


Its very disheartening to go out and find one of your carefully nurtured Brugmansia lying on its side, the one branch that is heavily laden with unopened buds snapped of and rapidly wilting.  There are a number of things that you can do to prevent sudden winds from damaging your brugs (or other big plants), here are ten tips for those of us who grow Brugmansias in pots.


Fasten the tie to the stake firmly so it does not slip. Using soft material helps avoid damage to the stem, here we are using a foam covered wire around a stem of cv "Drogon's Fire".


Then loosely fasten the tie around the stem to allow for growth.  


Burying the pot is a cheap and easy solution, partially buried pots can be hidden behind plantings.  Pulling up buried pots at the end of a season can be difficult, especially if the roots have grown into the surronding soil.
Partially buried  pots can have the pot disguised by foreground plantings.  Here a cv "Jean Pasko" has the pot hidden by a planting of Tagetes marigolds.


We do this on any pot we place on a stump or a wall or a roof here at Leaning Oaks, just to make sure it is safely secured.

Inexpensive coat hangers from a big box hardware store make good hooks to go over the rims of plant pots.  We use four hook per pot with wire, which then is attached by a bolt to the tree stump the pot is sitting on.  If the pot is nestled inside shrubby grown covers like cottoneater or junipers, another hook can be use to tie down the pot to the branches of the ground cover.

Driving rebar stakes through the pot and into the ground stabilizes the pot and is invisible, they can be a challenge to remove in the fall however.


Tying to a railing or fence is a great way to keep your plant upright in the wind, one caution to consider is that it tends to allow earwings an easy access to your plant by crawling up the posts and might be best down with earwig resistant cultivars.


Sunday, June 7, 2015

Shed with a DIY Living Wall and Living Roof

Small shed with living wall and roof.
After a couple of years of packing the cushions for the bench and deck furniture into the house everytime it threatened to rain, we decided to build a small shed (8x4x7) next to the pond to store them for the summer months.  This was an opportunity to do something I have wanted to do for a long time - play with the a living roof and wall.

After a bit of searching on line and at local nurseries, I decided that a  do it yourself (DIY) living wall was going to have to be the way we went, since the commercially available units were prohibitively expensive.

Because of the weight of wet growing medium, wood and plants we decided to build the shed mostly our of rough cut 2x8 boards, including the roof.  The shed was built with an extensive overhang on one side to provide protection from the rain, but no overhang on the side where there was going to be a living wall.

An EPDM pond liner was used, in one continuous piece to cover the roof and wall (see Fig. 1).  Concrete pads were poured at the two ends and the middle of the shed on the living wall side.  These were to support the weight of the cinder block pillars so they did not push through the EPDM liner.
Figure 1. Schematic drawing of shed and living wall.

 Cinder block pillars were mortared on top of the EPDM liner and strapped to the walls using stainless steel brackets.  Pressure treated 1x6 was used to make the shelves for the wall planting. These were slide into place through the diagonal openings of the cinder blocks.

To fill the gap between the cinder block and the liner covered wall I cut commercial plastic plant flats in half with a box cutter type knife and slide them against the wall. 
Figure 3 showing cinderblock pillars and 1x6 shelves
Figure 2 Showing drip irrigation line.

A drip irrigation system using flexible line was threaded through the wall and tacked with clips into the 1x6 boards, taking care that at least one dripper hole was in the cinder block openings at the ends of the wall.  This was done to ensure that plant set into the cinder block openings at the ends of the wall would get watered.

Figure 4 showing end plantings and brackets.
Brackets were used to fasten the pillars to the wall at both ends.  
We chose to have quite a bit of liner in front of the shed, to prevent the water running off the roof and the wall from going under the shed. The planter that was made in front of the shed is has the EPDM liner in it and plants that enjoyed the constant moisture were used in the planter(Dicentra and Corydalis),

The roof planters were made from pressure treated 2x8, bracketed together to form a box and strapped to the underside of the eaves with brackets, in such a way that the liner was not punctured with screws. 

Figure 5 showing initial planting
Figure 6, newly planted wall season one.
Initial plantings of begonias, sage, and zinnias were only moderately successful, the site was just to shady for some of those species.  The begonias (cv "Griffon") did very well.  The next season the wall was planted with the Griffon begonias, Fringecup (Tellimia grandiflora), fuchsias, Begonia bolivensis, B. fushsiodes and a varegated sedge.  The lower plantings had to be deer resistant species, so Ageratum and Epidmediums were chosen for those areas.  Plants were planted in blocks of individuals with contrasting textures and colours.
Figure 7. Living wall mid season Year 2.

The roof was an opportunity to grow plants that we  can't grow because of the deer in our yard.  Four cultivars of deciduous azaleas, and several fuchsias form the core of the roof planting.  The front of the ground level planter and the area around the shed were faced with paving stones.  

Tips
  1.  You need to make sure you have water easily accessible, for us this meant running a new waterline down to the shed. 
  2. The water is on an batter-operated automatic timer, at 2 to 10 minutes a day during the summer months, depending on the temperature.  
  3. Shelves and the roof get a dressing of slow release fertilizer and the wall and roof is watered weekly with a liquid fertilizer.  
    Figure 8. Living wall provides a backdrop to the deck beside the pond.

Wednesday, April 2, 2014

Gardener Know thy Enemy 1. Hairy Bittercress


Hairy Bittercress (Carmdamine hirsuta) is a plant in the cabbage family  known by a variety of common names,some derive from its ediblity (Hairy Bittercress, Pepperweed) and some from its seed dispersal mechanism (Shotweed, Snapweed, Popweed).  This is one of the most problematic weeds in our garden here at Leaning Oaks.  It is a winter annual, germinating in the late summer or fall once the cooler nights have set in and the soil starts to get moist.  It live throughout the winter as a basal rosette. It flowers very early in the spring and develops seed quickly.  Any check to its growth, such as a period of drought, or pulling the plant out of the ground,  leads to the formation of seeds in a few days.  The seed pods, once dry, open with a twist,  flinging the seed up to a meter from the plant.  Often the pods can be triggered to open by touching the plant.  At its worst, the plant can cover the ground so completely that it smothers other plants.  Any plant left to go to seed produces enough seeds to keep you busy weeding for days the next winter.

Washed Hairy Bittercress with roots removed

Hairy Bittercress and smoked Pear Salada.


1. Eat it - this is a peppery edible that is a good addition to salads.

Bittercress rosettes


Bittercress with bird seed

Three weeks later, bittercress is gone
2. Let the Birds Weed it Out.  -in the winter sprinkling bird seed over parts of the garden that are invested with the seedling rosettes will encourage birds to scratch the seedlings out.  This is surprizinlgy effective if you have soil scratching species of birds such as Fox Sparrows, Spotted Towhees or Golden-crowned Sparrows in the yard.

3. Vinegar -the basal rosettes are easily killed by spraying pickling or cleaning strength vinegar. This is most effective before the plants have flowered.  Since vinegar is not registered for this use here, but vinegar for salads are ok, see 1.

4. Hoeing - this species isn't deep rooted and hoeing out the plants is relatively easy.  The problem is that even plants dislodged from the soil can set seeds quickly, so you must rake up and destroy any plants you hoe out.  Leaving them on the soil surface to die will result in a big seed bank. Even plant thrown on the compost pile will go to seed.  One trick is to cut off the flower heads before you hoe them out, then you can safely compost them, or let the plants dry out on the surface.

5. Mulching - this works but you must use sufficient mulch to prevent them from poking through - at least 4".  I don't trust this plant though, I would still cut off any flowering heads before I applied the mulch.

Friday, June 29, 2012


Devil's Club –for that Tropical Look and Feel

One of the most successful shrubs we have in the garden is a large, and now relatively old, specimen of Devil’s Club, Oplopanax horridus.  Our plant has lived in a pot for 21 years..or rather a succession of ever larger pots, and now sits on the cover to our water cistern. I can no longer lift it, so its in the biggest pot its going to get.   In front of it is a clump of exuberant Trillium kuryabashii which more or less disguises the pot for a good part of the early growing season.

The pot is connected to our drip irrigation system, which 
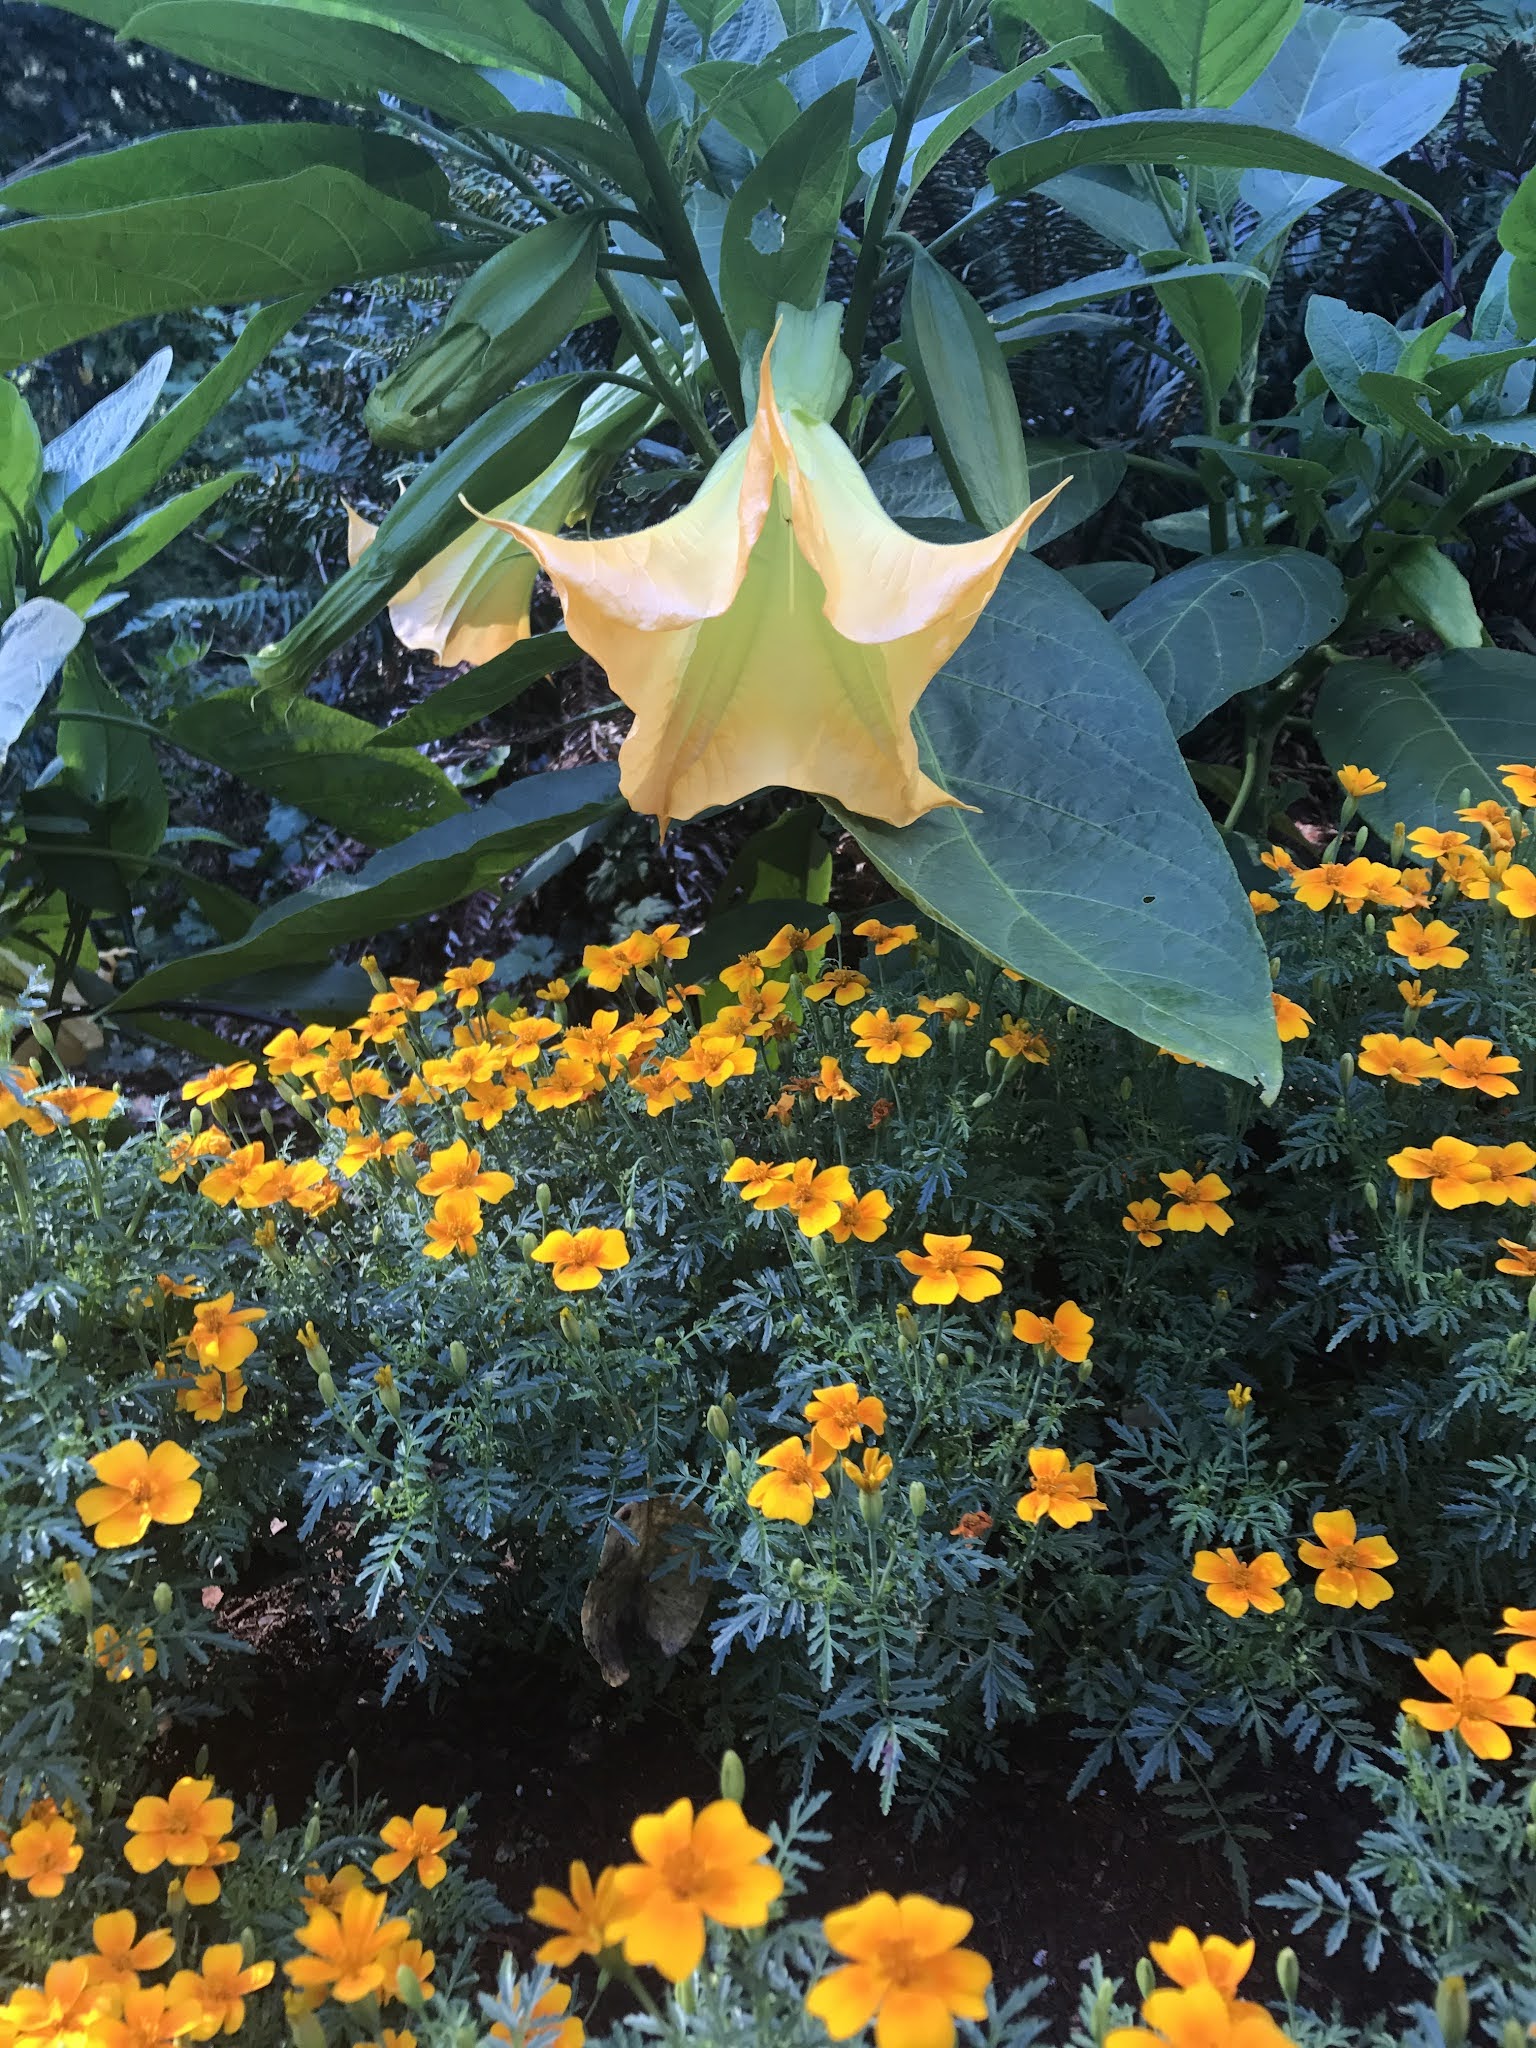
waters most of the garden, including our collection of Brugmansia.  Since Brugs and Devil’s Clubs both require a lot of water to flourish our Devil’s Club has grown to be an imposing specimen.

Most visitors to our garden are impressed with the plant until they realize what species it truly is, at which point they usually say “Wait a minute, is that a Devil’s Club?” and give you the same look as if you were trying to pass counterfeit currency, or sell them cedar kindling sticks as pieces of the cross.  Too many have had bad experiences hiking through patches of the dangerously armed shrub to have very many warm fuzzy feelings about the plant, despite its beautiful large leaves and tropical look.

I was pleased to read Dan Hinkley’s description of the species as “among the most sensational plants in our natural landscape” – and then dismayed to  read his dismissal from horticulture as “it simply refuses to survive the transition to a garden setting” – mental note, don’t let my plant near Hinkley’s book on Shrubs and Vines.

To be fair, the species for whatever reason, seems to fair better in  the garden confined to a large container than in the ground, and I really don’t have a good explanation for why that is so.  Ours is on the same cultivation regime for water and fertilizer as our collection of Brugmansias, which means lots of both.
It will survive periods of droughts, but then it looks entirely ratty with dead-edged leaves and dessicated blossom spikes.  I suspect the secret to our success is drip irrigation and an automatic water timer.
Both these things are well worth the effort for this plant, with it huge leaves and bright red berries the colour of sealing wax.  Our plant is now so large that I have had to chain it down to the lid of the cistern on four sides so that it doesn’t  fall over in windstorms.  Before we did this, lifting it back up was quite an effort.
The species is easily propagated by dormant hardwood cuttings  about a foot long, direct stuck into pots of soil in the autumn and left outside.  Its so easily rooted, I’ve never tried growing it from seed. 

 Armed with wicked spines on the twigs and the leaves, its never been the target of deer browse.  Slugs occasionally climb the spiny stems and chew a few holes in the leaves but never damage the plant to any great extent. 

Hanging Baskets that last 20 Years


Hanging Baskets that last 20 Years


In the winter months, we replace our summer hanging baskets with baskets of licorice fern (Polypodium glycerrhiza). They look great for the entire winter and aside from the odd handful of slow release fertilizer,they require almost no care during the winter months. Here in Victoria, there is usually enough rain that extra watering isn’t necessary from October thru April. In the spring, usually in April, they will go dormant and drop their leaves if they dry out, however since we usually start the irrigation system which also runs the drip lines for the hanging baskets in mid-April, they last the few weeks longer until the annuals are ready for the summer moss baskets. In May we stop watering them and store them in the shade somewhere where they go completely dormant. A good rain, or heavy watering in August, will start them into active growth again so they are full and lush to put up when the annual baskets come down in October or November.

 It occurred to me as I was working on the sprinkler system this spring that these particular hanging baskets were planted 19 years ago. This summer I will divide them and replant them and they should last another 20 years.

 Talk about a low care gardening project!!!

Friday, September 30, 2011

In Praise of Big Tobacco........


"Big Tobacco" is a term often used to describe the "big 3" tobacco companies, however,from our garden's point of view this year, the "big 3" tobaccos are three species of Nicotiana all of which grow well over a meter in height. The three are working from the tallest down, pink flowered Nicotiana tabacum, white flowered N. sylvestris and yellow-green flowered N. langsdorfii. This year we grew all three from seed and used them liberally in the garden.
Big Tobaccos have a couple of attributes that make them useful in our garden. Foremost they are hardly ever touched by the deer or rabbits. Secondly they are vigourous growers and seem to thrive in our garden coditions. Thirdly, they are all heavily used by hummingbirds.
The largest is N. tabacccum, the "pink flowered strain" we grew from seeds purchased from a UK seed supplier. Planted out in early June, the plants have shot up to 2 or 3 meters in height, topped with pink trumpet shaped flowers. Of the three, this is the species most preferred by the hummingbirds. It was also the latest flowering of the three species, not flowering here this year until the last week of August and only just peaking in bloom now. An earlier seed sowing may be in order next year.
The most commonly grown of the three is the white flowered N. sylvestris, a big leaved plant with nodding white flowers that are heavily scented in the evening.. Its a very easy species to grow, handling bright sun and semishade equally well. We find it particularly useful in planting in front of the Brugmansia pots to disguise them completely.
Surprizingly, the showiest of the three species is the smaller and green flowered species Nicotiana langsdorfii. We have used this species in tubs, plants and tucked in gaps in the perennials beds, in both sun and shade. It is at its most impressive however where 6 or 10 or more are planted together where it forms an impressive display of a curtain of chartreuse bells-particuarly effective in a bobbing and swaying in a breeze. In the plants, I like the effect when combined with purples, most effecitvely in one planter on the pondock deck where it is combined with Salvia buchaninii and the flowers are displayed well against the huge fuzzy purple leaves of Solanum quitoense.

Monday, September 26, 2011

A Showy Phytolacca.


Almost every visitor to the Leaning Oaks garden asks about the identity of this plant. Phytolacca polyandra (also known as Phytolacca clavigera). This is a robust herbaceous perennial from a woody rootstalk. The new growth emerges in the spring a rich wine red and the plant quickly becomes shrublike with terminal racemes of bubble-gum pink flowers.

There are about 35 species of Phytolacca, several are quite coarse looking plants, this is the best species that I have tried. A few years ago I grew some Phytolacca bogotensis from seed, the plants looked similar to P. polyandra, but the racemes were smaller. P. bogotensis proved to be not hardy in our garden, succumbing to the first winter frost.

P. polyandra has proven to be perfectly hardy for our garden and each plant lives for about 4 or 5 years. A few seedlings pop up every year however, and I always have a couple of plants in reserve to continue the show. Some Phytolaccas have proven to be very invasive, so this one warrants careful scrutiny before widespread planting. So far in our dry Saanich Peninsula garden it has proven to be a polite seeder, but folks living in a damper clime should watch this and make sure that it continues to behave itself before totally embracing it.


In the late summer all the stalks deepen in colour to a deep pink and the each branchlet tipped with a shiny, faceted, jet black berry - a startling combination of colour and texture. The berries stay on the plants for several weeks, and then, as if there is some signal, American Robins, Varied and Hermit Thrushes set upon the plants to clean off the berries. Some years the foliage turns bright yellow while the fruit is still on the plant, a very showy combination indeed.

Chinese Chokeberry can be difficult to find, it only occasionally shows up in nurseries. Seed is often for sale at the UBC botanic garden and it germinates readily after a winter outdoors. Fraser's Thimble Farms sometimes has plants for sale. The nursery where I bought our original plant is no longer in business.

Deer have not been an issue with this plant, which is not surprizing given its toxicity. Gardeners with small children should be aware that all parts of the plant are poisonous including the glossy berries. Slugs damage the odd leaf or two, but not enough to be an issue with this plant.